
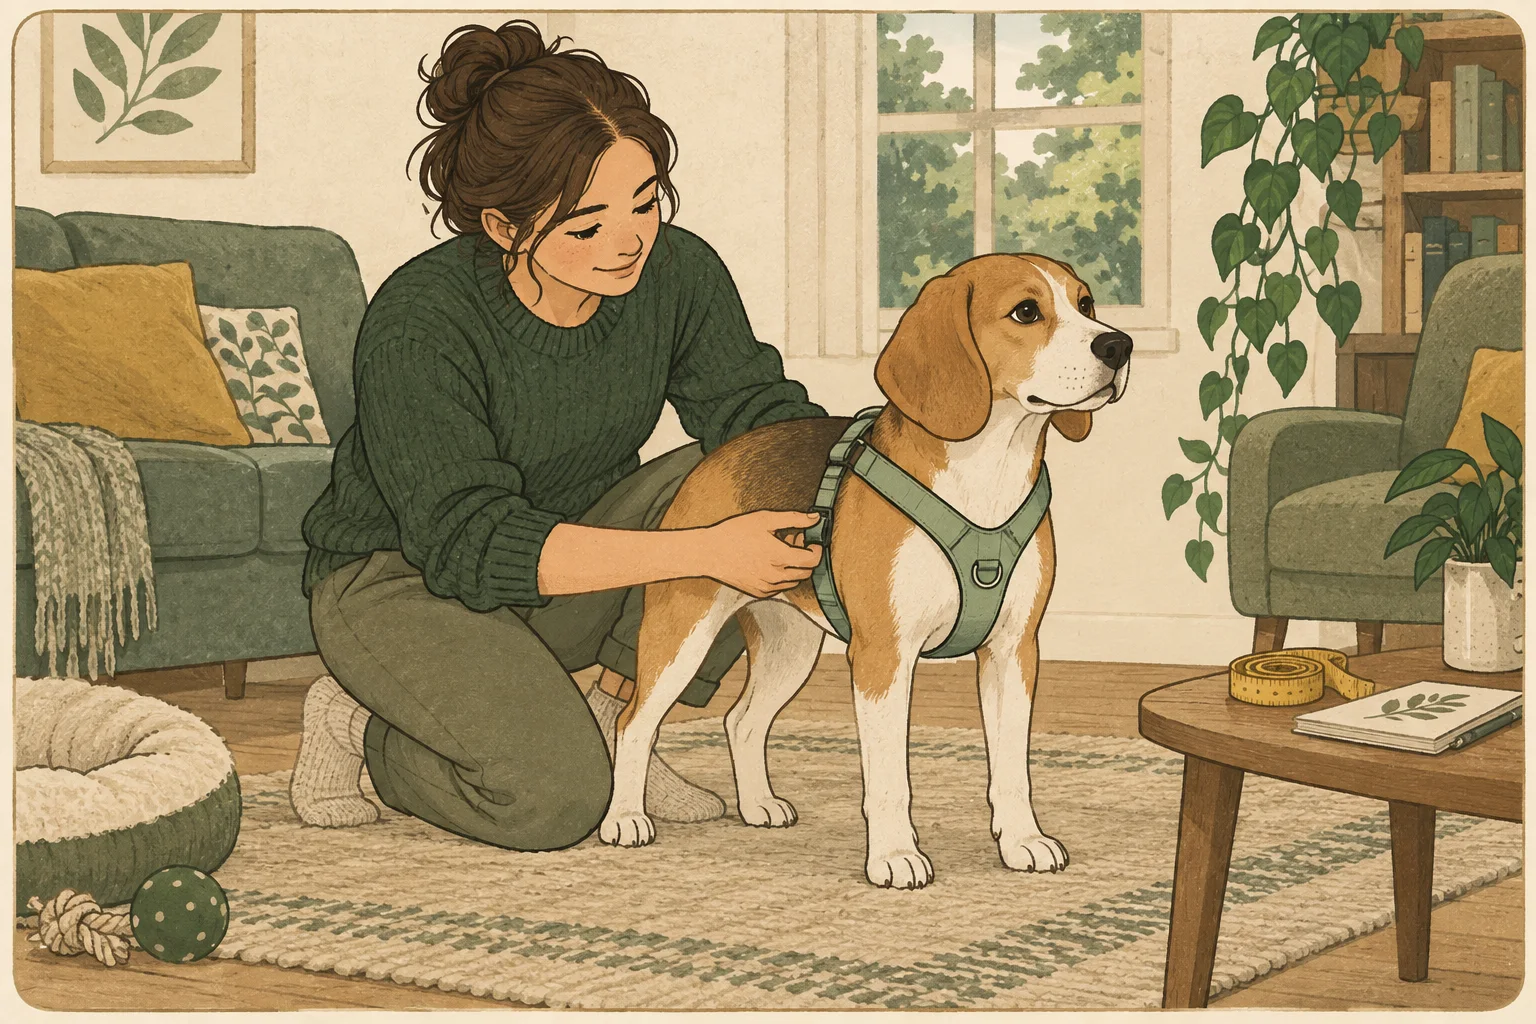
- Use the exact harness model’s measurement and adjustment instructions.
- Check position and comfort during movement, not only while the dog stands still.
- Save the fit details so another household member can reproduce the setup.
Turn this answer into a walk you can actually track.
GetWalkBuddy is a dog walking app for owners who want a simple route tracker, timer, distance view, and daily walk log without turning the walk into a spreadsheet.
How do you measure your dog for a harness?
Start with the measurements required by the manufacturer for that model. Ruffwear, for example, uses girth at the widest part of the chest behind the front legs for its harness sizing. Do not assume that one brand’s size name or chart applies to another.
Create a small fit record: model name, measurement locations, measurements with units and date. Keep the product’s sizing page or instructions with it. This makes a return, exchange or later recheck easier than relying on a remembered “medium.”
Measure in a calm setting with the dog comfortable being handled. If you get inconsistent numbers, check the tape position and repeat calmly rather than averaging measurements taken from different places. If measuring itself worries the dog, pause and get help with handling.
If the measurements fall between sizes or different measurements suggest different sizes, use the manufacturer’s guidance or contact its fitting support. Do not automatically buy the larger size and assume tightening will solve every proportion difference.
Sources: Ruffwear: measuring for dog gear
What should you check after adjusting the straps?
Follow the model’s instructions for strap placement and clearance, then look for a stable fit with comfortable movement. Dogs Trust emphasizes avoiding restriction, preventing escape and checking equipment for wear. A finger-gap check alone does not tell you how every part behaves when the dog moves.
Work through the adjustment points in the order shown by the instructions. Keep the harness oriented correctly and check that straps are not twisted. If you cannot identify an attachment point or buckle confidently, stop and consult the instructions before adding the leash.
Use a three-column check: position, security and comfort. Under position, note whether the parts sit where the manufacturer shows. Under security, check buckles and adjustment points. Under comfort, observe whether the dog can stand and move normally without visible rubbing or restriction.
Do not deliberately pull the dog backward to see whether they can escape. Keep the initial check in a secure area and get a professional fitting assessment if escape or backing out is a concern.
Why should you check harness fit while the dog moves?
A harness can look different once the dog starts moving. Watch an easy walk and turn in a secure setting before relying on the setup outside. Look for shifting parts or discomfort, and consult the product instructions when something changes.
Keep the first comparison simple: a comfortable standing view, a few easy steps and a turn. Observe from the side if another person can help safely. You are checking the actual fit, not asking for an athletic performance.
If you take reference photos for yourself, record the model and adjustment settings with them. A picture of a correctly oriented harness can help another household walker put it on consistently, but it is not a substitute for checking the dog each time.
After a change in size, coat or adjustment, repeat the check. A saved measurement is historical information; it does not prove that the same setting remains appropriate today.
What if your dog avoids the harness or freezes in it?
Treat reluctance as information. Dogs Trust recommends gradual, positive introduction and returning to an easier stage when the dog is uncomfortable. It advises veterinary help if worrying behavior or aggression appears. Do not assume avoidance is a reason to tighten the straps or force the next step.
Separate the questions. Does the dog move away when the harness appears? When it approaches the head? When a buckle clicks? Or only after it is fastened? Write down the point where the change happens so you can describe it accurately.
Check both handling and equipment rather than deciding in advance that only one can matter. A fitting appointment can address physical placement; qualified training or behavior support can address a difficult introduction. Pain or a new movement change belongs in a veterinary conversation.
If the product cannot be adjusted into a suitable position, stop using that fit and seek an alternative with appropriate advice. Repeatedly changing the same strap setting is not evidence that the underlying shape is suitable.
What belongs on a reusable harness fit card?
Keep the information another walker needs without turning the card into a guarantee. The dog and equipment still need checking before each outing.
Save these four lines:
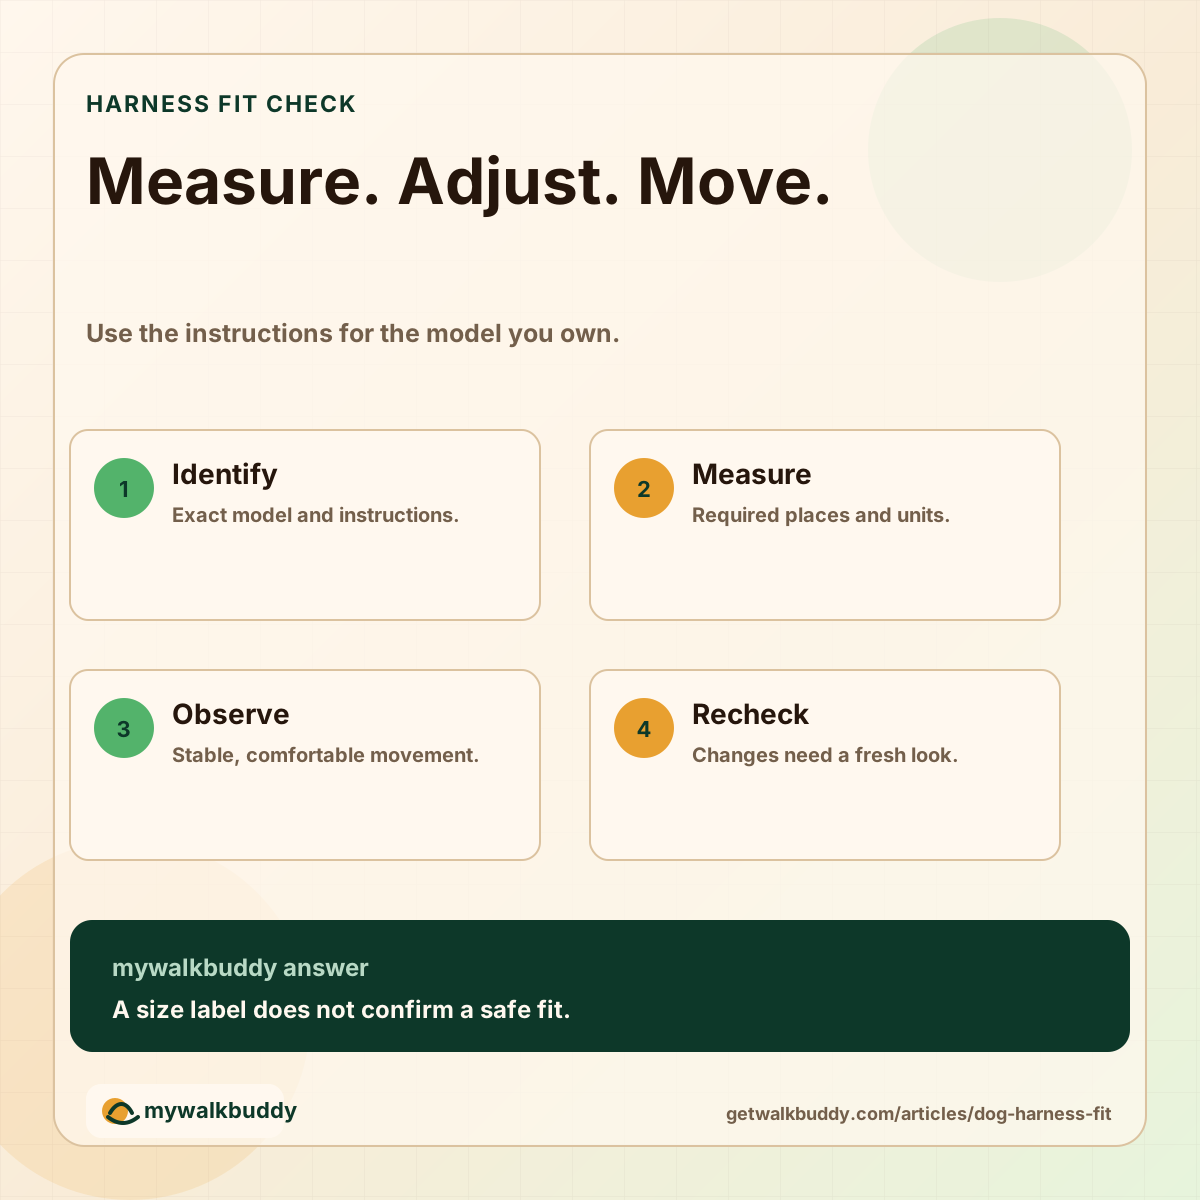
- Before: identify the exact model and inspect straps, buckles and attachment points.
- Measure: record the required body measurements, units and date.
- Adjust: follow model instructions, then observe easy movement in a secure area.
- Recheck: stop for slipping, rubbing or discomfort and get fitting or veterinary help as appropriate.
Questions owners ask when the leash is already in their hand
-
Is the two-finger rule enough to check a harness?
No single gap check establishes the whole fit. Follow the specific model’s guidance and also check position, security and movement. Different designs may give different clearance instructions.
-
Should I size up when my dog is between harness sizes?
Use the manufacturer’s between-size guidance or fitting support. A larger size is not automatically suitable if the shape or adjustment range does not match the dog.
-
Will a better-fitting harness stop pulling?
Fit and training are separate needs. Dogs Trust notes that a harness does not replace teaching comfortable loose-lead walking.
-
How often should I recheck harness fit?
Check the setup before outings and repeat measurements when the dog’s size or fit changes. Growing dogs and altered strap settings need particular attention; do not rely indefinitely on the original size choice.
Prepare the equipment, then record the outing.
Once the walking setup is suitable, use GetWalkBuddy to keep the route, time and distance in one walk record.