
- Check the equipment, the landing and your dog’s physical needs before training.
- Start with a manageable surface and practice both directions.
- Rehearse separately from a car journey or walk that has to happen on time.
Turn this answer into a walk you can actually track.
GetWalkBuddy is a dog walking app for owners who want a simple route tracker, timer, distance view, and daily walk log without turning the walk into a spreadsheet.
What makes a ramp suitable for your dog?
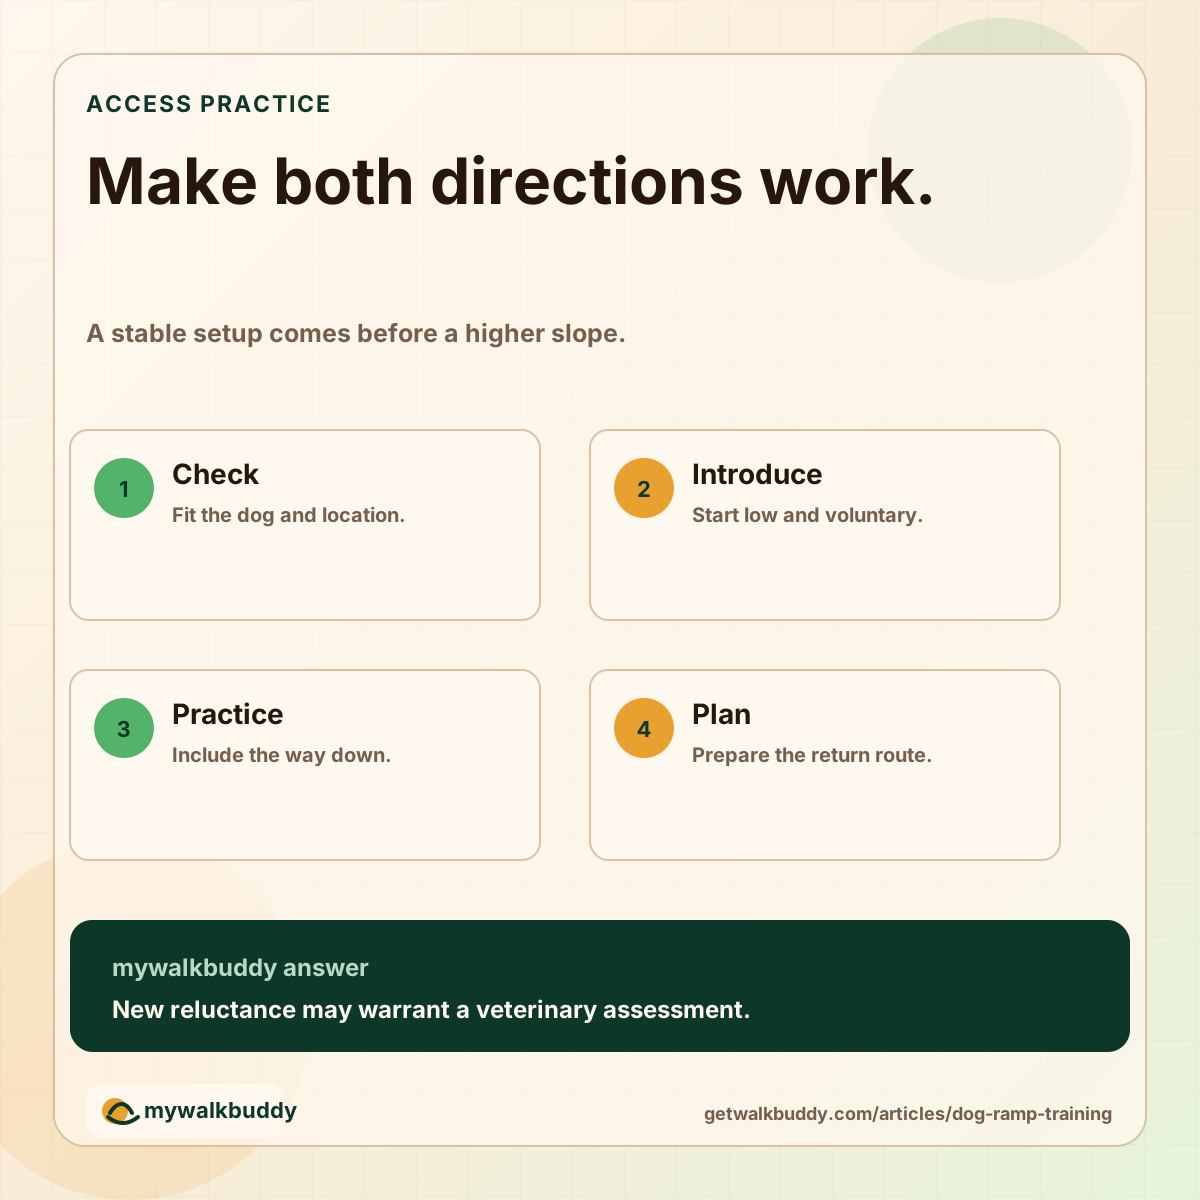
Check the product’s load limit, usable width, traction, attachment method and the height it needs to reach. AKC highlights stability and a slip-resistant surface, and recommends veterinary assessment when discomfort or mobility changes are involved.
Measure the actual access point before buying or setting up equipment. A ramp that works beside a sofa may not fit a car doorway. Include the space at the bottom and top: the dog needs room to approach and leave without immediately turning into an obstacle.
Write down the intended use in one sentence, such as “ground to the rear seat at our normal parking spot.” That gives you a concrete setup to evaluate instead of a vague goal of teaching ramps in general.
Follow the manufacturer’s instructions for locking and securing the ramp. If the support moves when you test it without the dog, fix the setup before introducing the dog. Do not balance the ramp on improvised supports to create a steeper lesson.
Sources: AKC: choosing and introducing ramps
How do you introduce the ramp without pressure?
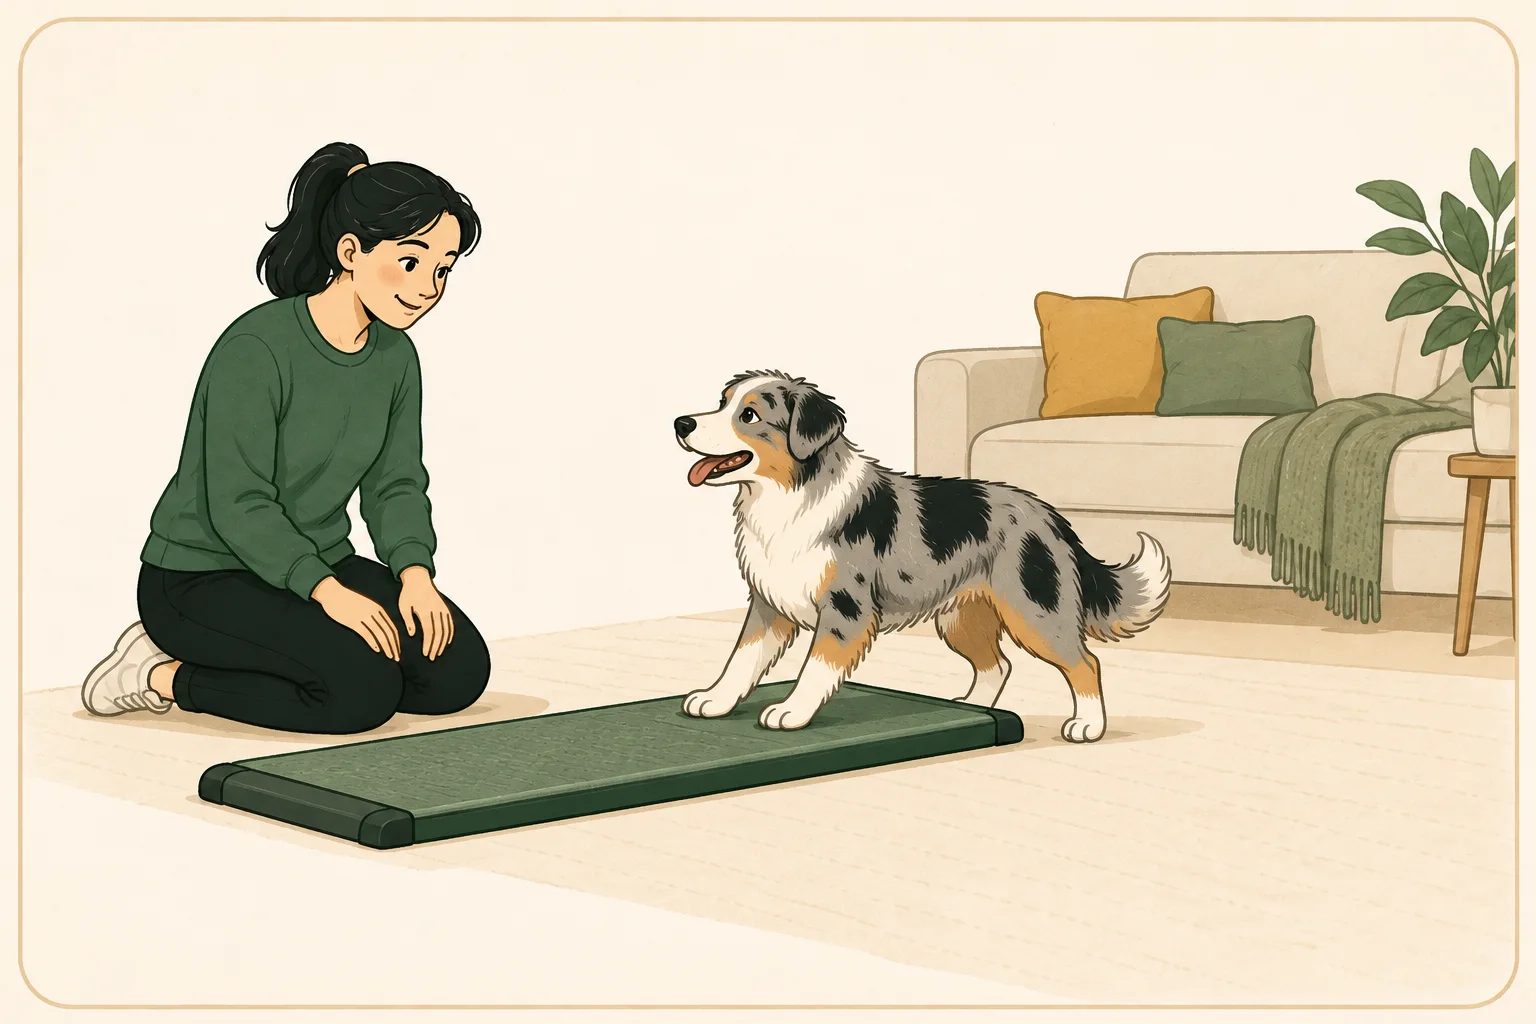
Begin with easy, voluntary investigation at a low angle or flat if the product permits. Reward looking at, approaching or stepping onto the surface. Keep sessions short and allow the dog to move away.
AKC’s guidance on unfamiliar surfaces recommends rewarding small interactions rather than dragging a dog across. Apply that idea to one step you can observe, such as a comfortable approach, instead of requiring a complete crossing immediately.
Choose a quiet practice area with good footing. Put away unrelated equipment and ask other household members to give you room. If the dog has to negotiate toys, a noisy doorway and unfamiliar footing at the same time, you cannot easily tell what caused hesitation.
End a session with a factual note: “walked toward the flat ramp and sniffed it,” or “placed front paws on and stepped back.” Those observations tell you where to resume. They are not failures because the dog did not reach the far end.
When should you increase the slope or move to the car?
Progress when the current setup is comfortable and the next setup is suitable for the dog and product. Introduce one change at a time so you can see what affects confidence.
For example, do not simultaneously move outdoors, raise the ramp, add a waiting passenger and hurry to leave. If the dog hesitates, you would have several possible explanations and no easy way to simplify the task.
AKC describes starting at a low angle and increasing gradually. That does not create one universal safe angle for every ramp or dog. Stay within the product instructions and any veterinary restrictions.
Plan practice in both directions. A comfortable ascent does not automatically show that the dog is ready to descend. Watch the approach and the landing at each end, and return to an easier setup if the dog becomes unsure.
Sources: AKC: choosing and introducing ramps
How do you use the ramp as part of a real outing?
Prepare the ramp before asking the dog to approach, keep the access area clear and avoid turning the first successful practice into a long, demanding trip.
For a car outing, choose a lawful, quiet parking location where you can set up away from passing vehicles and pedestrians. Keep the dog safely contained while you arrange the equipment. Confirm the return setup will also be possible at your destination.
A practical first outing might use a familiar nearby destination with straightforward parking, rather than a crowded trailhead with sloping ground. This is a planning example; the walking duration still depends on your dog’s individual needs.
If another person helps, agree who manages the dog and who handles the ramp. Do not fold, shift or remove equipment while the dog is using it. Include packing and storage in the routine so the ramp does not become an unsecured obstacle.
What if a previously comfortable dog starts refusing?
Recheck the setup and consider a health change. AKC advises a veterinary appointment when a dog who was comfortable on surfaces becomes newly uncomfortable.
Record what changed: location, surface, direction, equipment movement or the dog’s usual mobility. Do not repeatedly test the same difficult movement to obtain a better description.
Use this short preparation list for the next appropriate attempt:
- Before: confirm physical suitability and product setup.
- Practice: choose the last comfortable step.
- Transfer: change the environment or difficulty gradually.
- Review: seek help for new discomfort rather than pushing through it.
Questions owners ask when the leash is already in their hand
-
Should I pull my dog up the ramp with the leash?
No. Encourage voluntary movement and simplify the setup if the dog hesitates.
-
Is a ramp always better than stairs?
No single option suits every dog and location. Discuss mobility needs with your veterinarian and check the actual access space.
-
Can I teach ramp use in one day?
Do not set a one-day deadline. The dog’s comfort with each stage should guide progress.
-
Why will my dog go up but not down?
The two directions can feel different. Check the surface, slope and landing, practice an easier setup, and seek veterinary advice if reluctance is new or associated with discomfort.
Track the walk after the access plan.
GetWalkBuddy records walking route, time and distance. Keep ramp setup instructions and mobility observations separately.